Designing the Sewing Shed, Part 2
Here's a tour of my backyard sewing shed – how I organized, decorated, and use it today.
Welcome to Making Time. Each week, I share thoughts and ideas for making more time for yourself by building creative energy and establishing rituals and practices. This year, I’m also attempting The 2024 Slowdown, which you can do with me. If you’d like to follow along, you can subscribe for free.
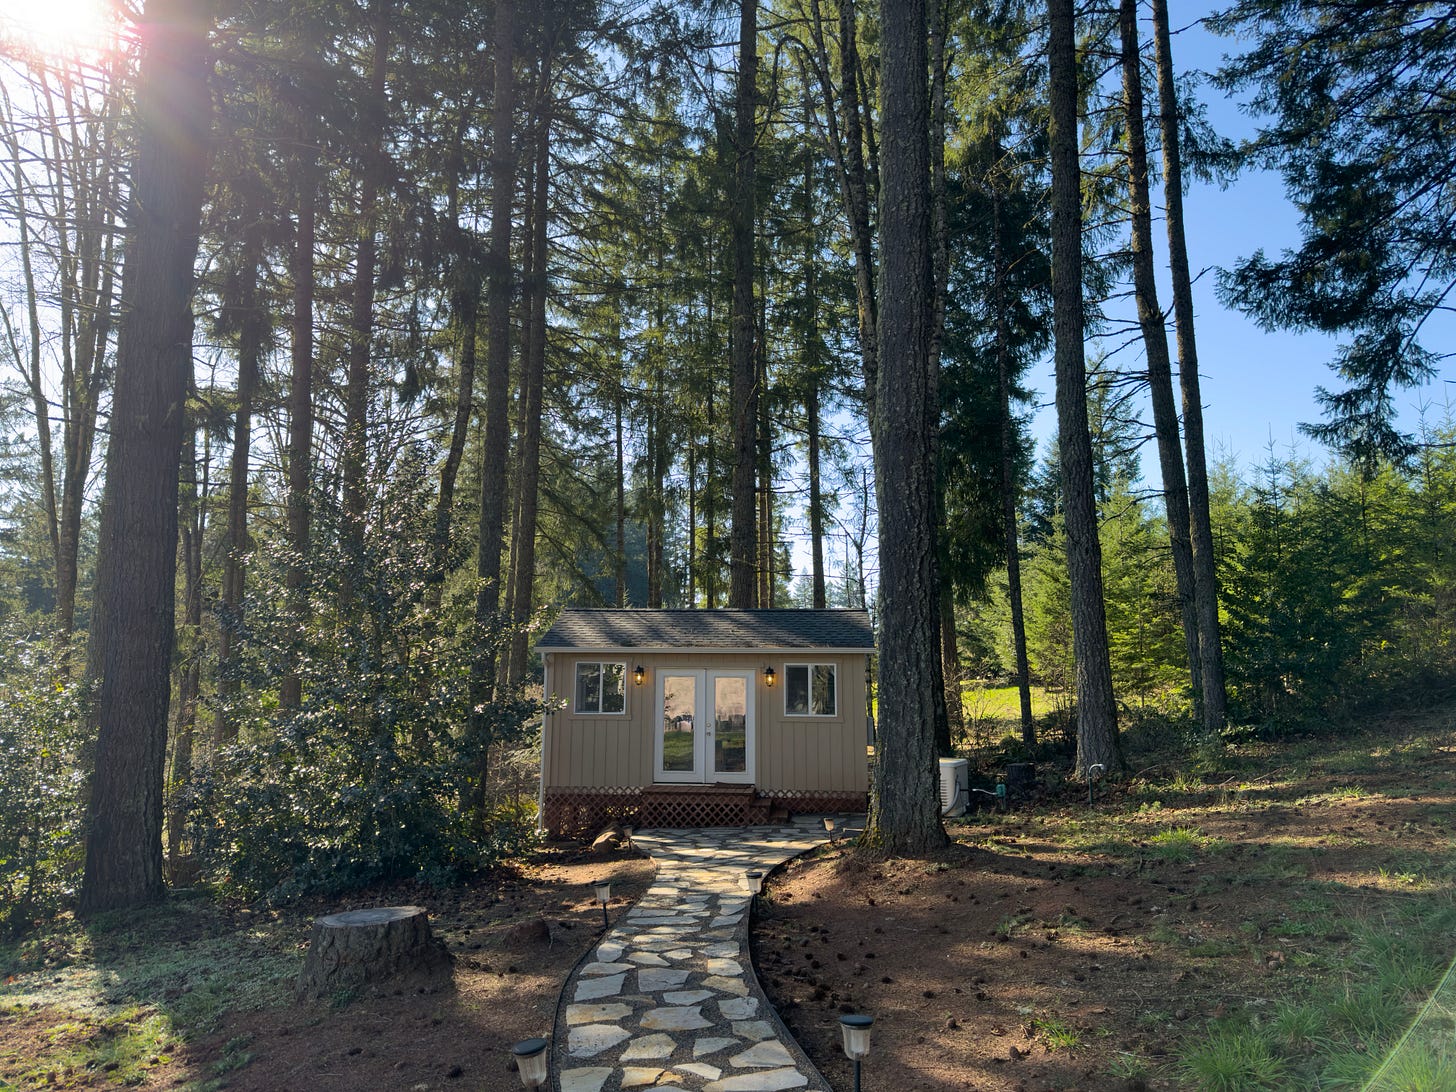
Months ago, I shared the process of building my backyard sewing shed.
It’s up and running now, and it’s given me so much joy in the months I’ve been using it – a quiet little retreat to work in, whether I’m creating videos, making a quilt, or just planning and designing.
We’ve published a couple videos about the process of designing the shed over at the Seamwork YouTube channel. The videos are below, along with a little photo tour and some of my thoughts on the first few months of use.
Quick note: There are a lot of images here, so if you’re reading this via email, you will probably need to click through to the web version to see the whole thing.
The Plan
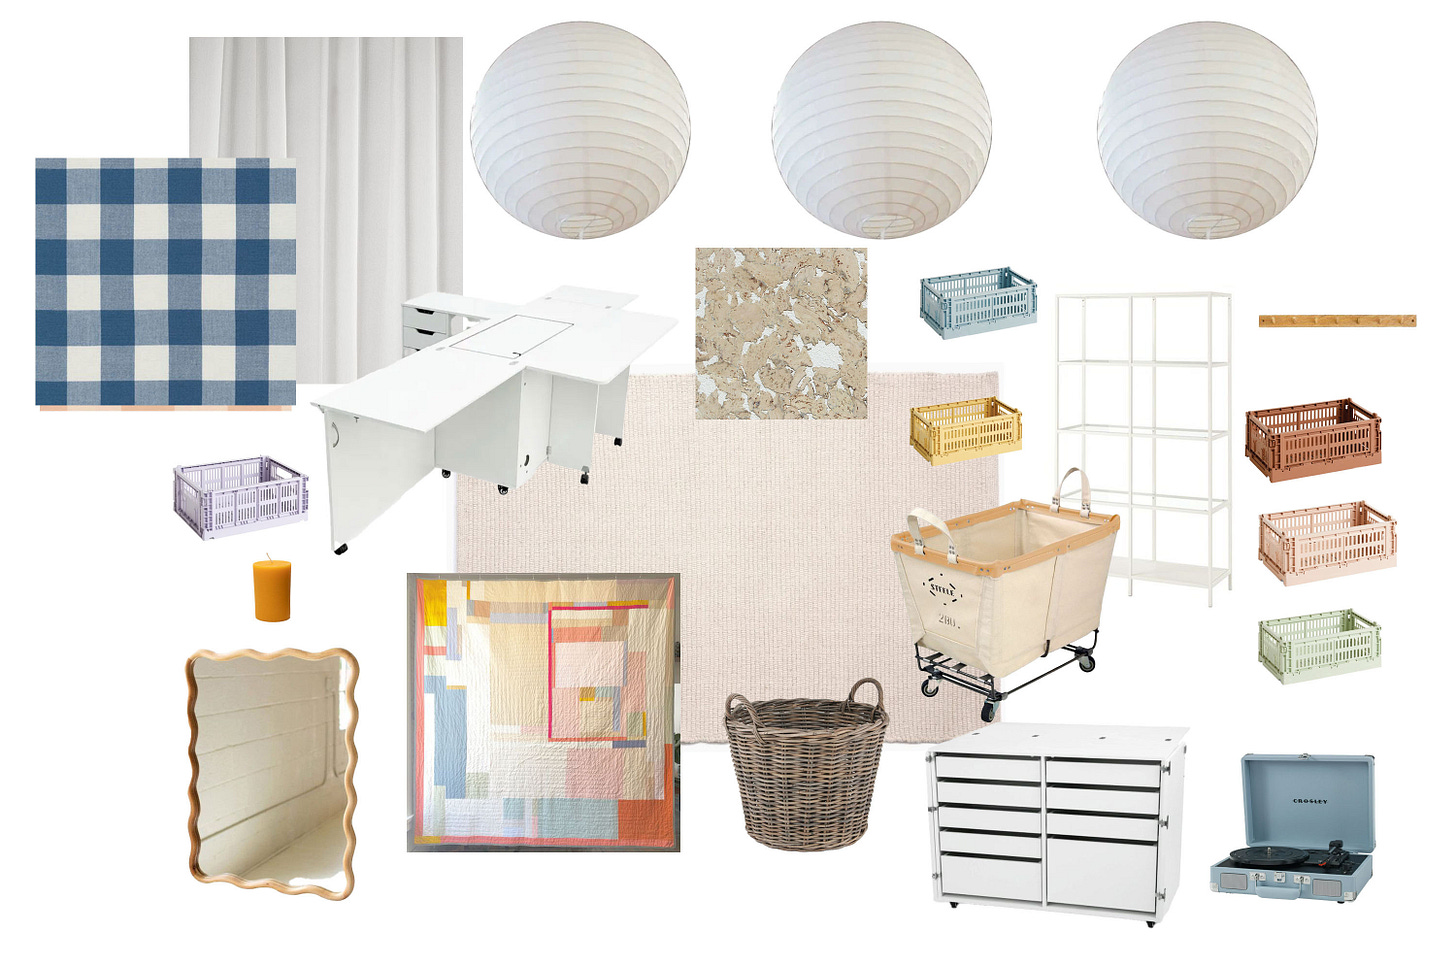
First, to refresh your memory, here was my plan for the shed. You can read more about it in the earlier issue on designing the sewing shed, which also lists most of the sources if you’re curious about anything I bought.
I don’t normally get a chance to design spaces from the ground up like this. Like most people, the rooms of my home just evolve over time. It’s slow and organic, and I like that.
Actually creating a plan and thinking through every detail, how I could organize things, and what I already had and could use was a fun creative challenge. A functional space like this is a little different, because you have a pretty solid idea of what you need and how you’ll use the space, whereas living spaces tend to serve many needs at once.
Watch the shed come together
If you’d like to watch the process of planning and designing the inside of the shed, we made a couple videos over at Seamwork.
In the first video, I talk through my plans with Haley as we tour the empty space. She came up with some fantastic ideas for keeping it organized, which I’m grateful for because dealing with clutter is really not my forte. The state of the desk I’m sitting at attests to that, piled as it is with books, candles, pens, cables, and chapstick. She is much tidier.
In the second video, I give a tour of the (almost) finished shed. The only thing missing is curtains because I had a little trouble with ordering the fabric I wanted for them, but they should be up soon.
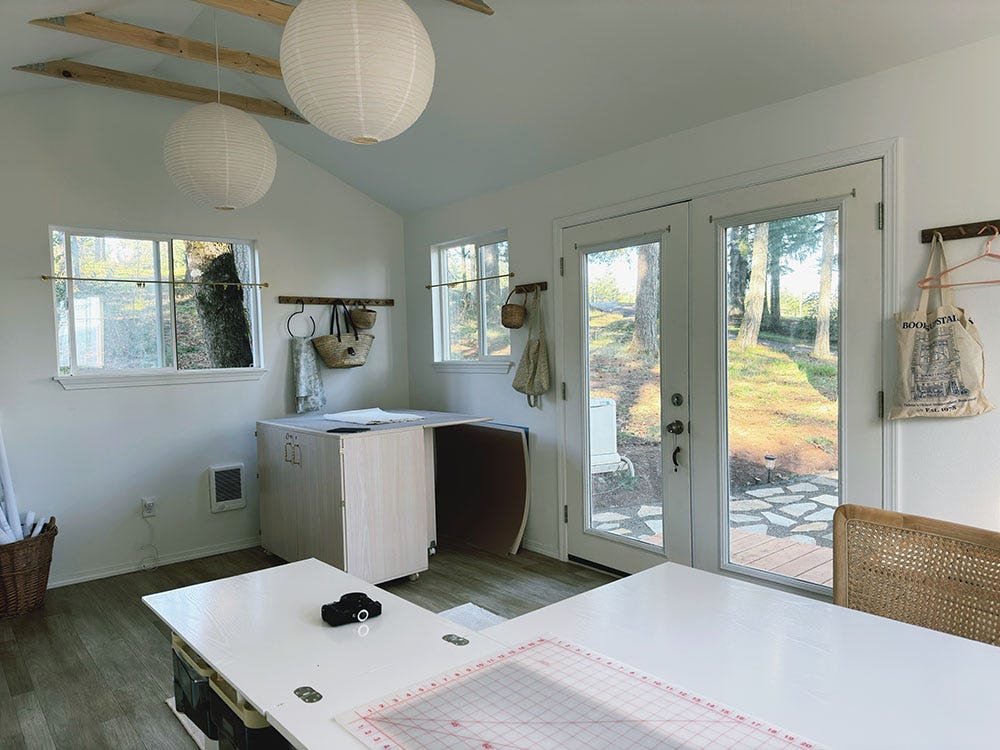
Here’s a brief look around at the inside, now that I’ve been using it a while.
The sewing table
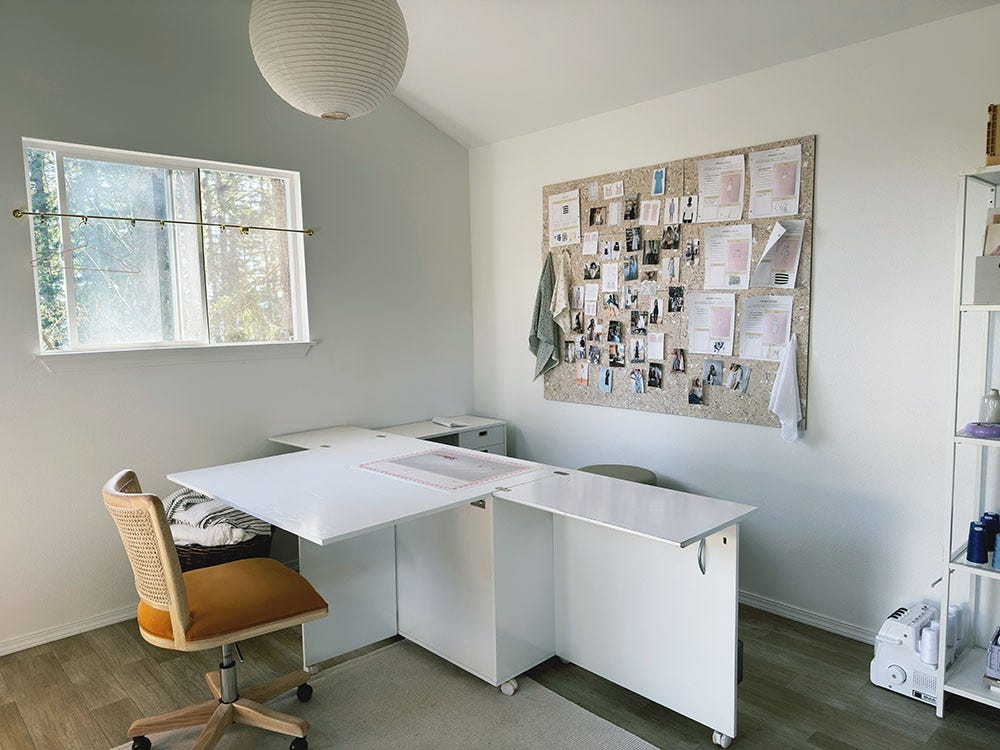
I already had this massive folding sewing table, which I moved from my home office. It folds up in a very compact way and the machine itself drops down.
I love that it’s large, L-shaped, and has the fold-down table at the front, which is large enough for a small cutting mat, or for photographing projects. Haley and I also use this table for podcasting. The mustardy chair is for her mostly – I use a rolling stool for sewing, and set up my machine and serger right next to each other so I can move between them quickly.
To the left is a big vintage basket, where I keep some fabric overflow. I found it at our local antique mall for $25.
The moodboard
I bought some cork tiles in this lovely light pinky-beige color to create a moodboard.
My home office had a giant wall covered in batting that I could pin things to, and I loved it. It came that way when we bought the house (the former owner did some quilting), so I knew I wanted something like that in here.
Unfortunately, the soft fluffy batting in my office proved irresistible to a puppy and has been utterly destroyed. I may buy more cork and do something similar to this in that room now.
I change out this moodboard every season when I plan out my projects for the next 3 months with Design Your Wardrobe. It really helps me to stay inspired and motivated to sew things I’ll actually wear.
The shelves
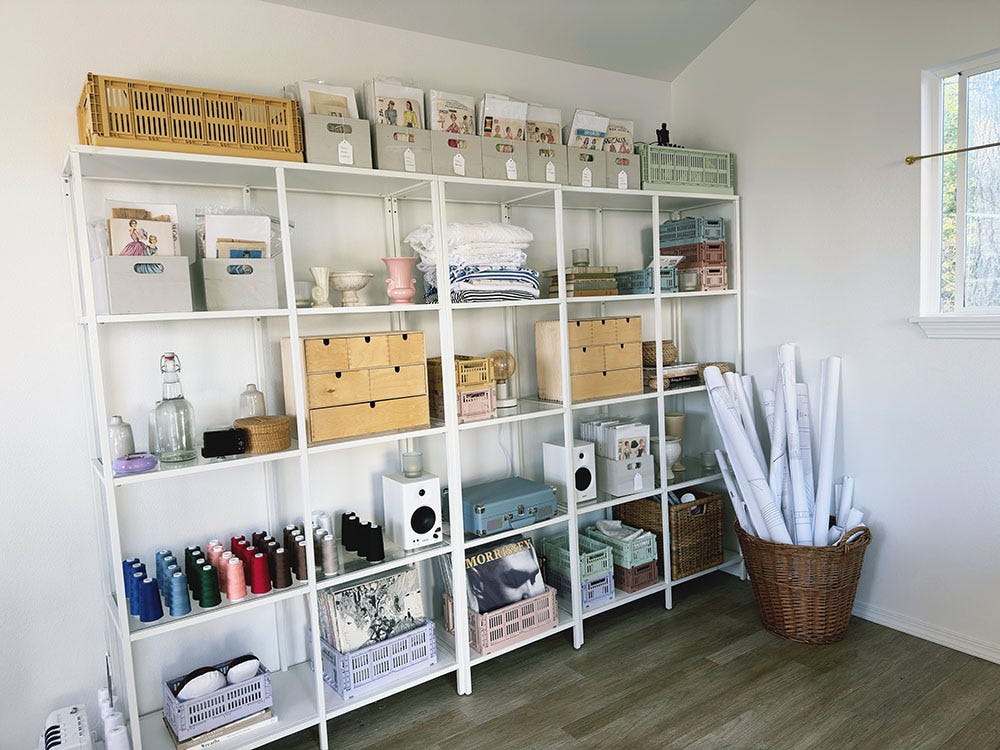
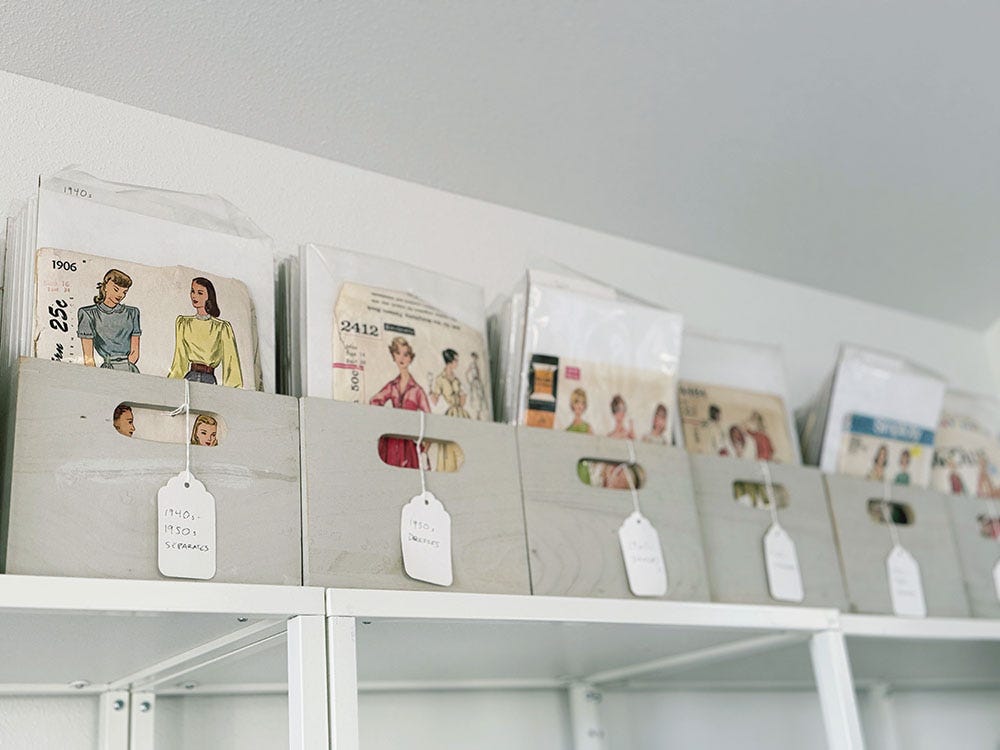
This giant set of open shelves is from Ikea originally, but we’d had it sitting around our office in Portland where it was mostly in the way. So I cleared it out and brought it to the shed.
It houses my vintage pattern collection, these colorful crates from Hay that hold odds and ends and some scraps, books, LED candles (safety first), and a portable record player which is currently broken. Please do NOT buy one of these record players. They look cute, but they are crap and dealing with the company has been awful.
I also keep a small stack of fabric here for any upcoming projects. You can see I’m sewing a lot of blue and white this season.
I have another large vintage basket where I keep rolled up patterns that I may sew soon, or sew again.
The Cutting Table
Opposite the shelves is my cutting table and cabinet. This too folds down quite small, but I rarely need to fold it. The top is almost always open, with a large cutting mat on top.
The front of the cabinet opens up to drawers, which is where most of my fabric lives. I have it organized by type, along with a drawer for small tools. It’s very handy to leave this drawer open when I cut, so I have access to everything I need.
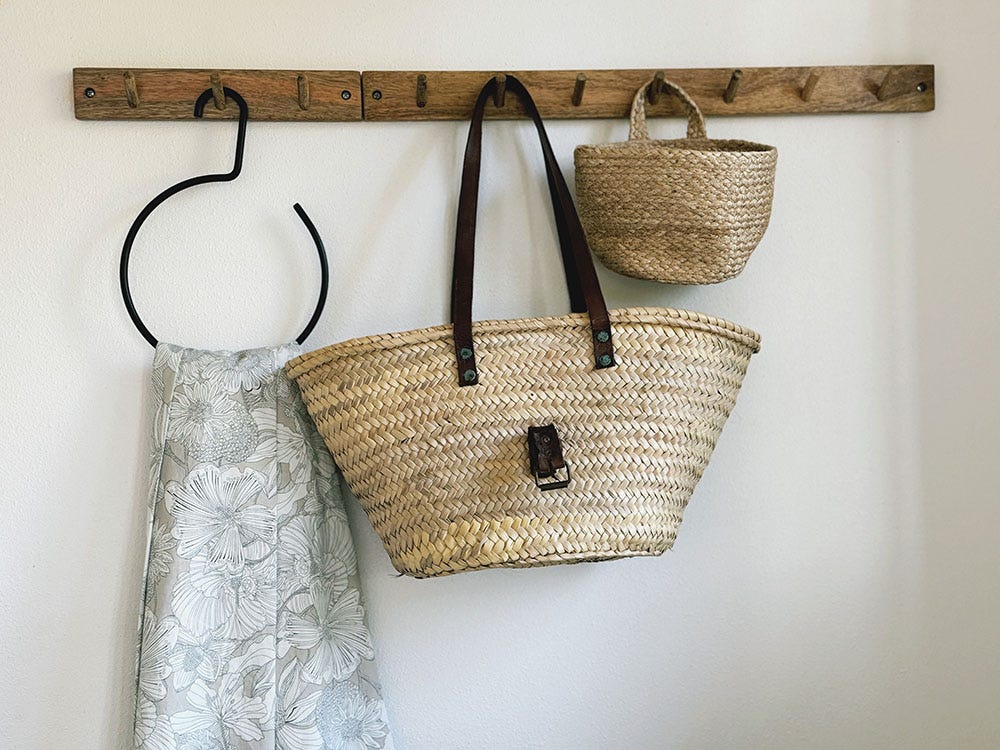
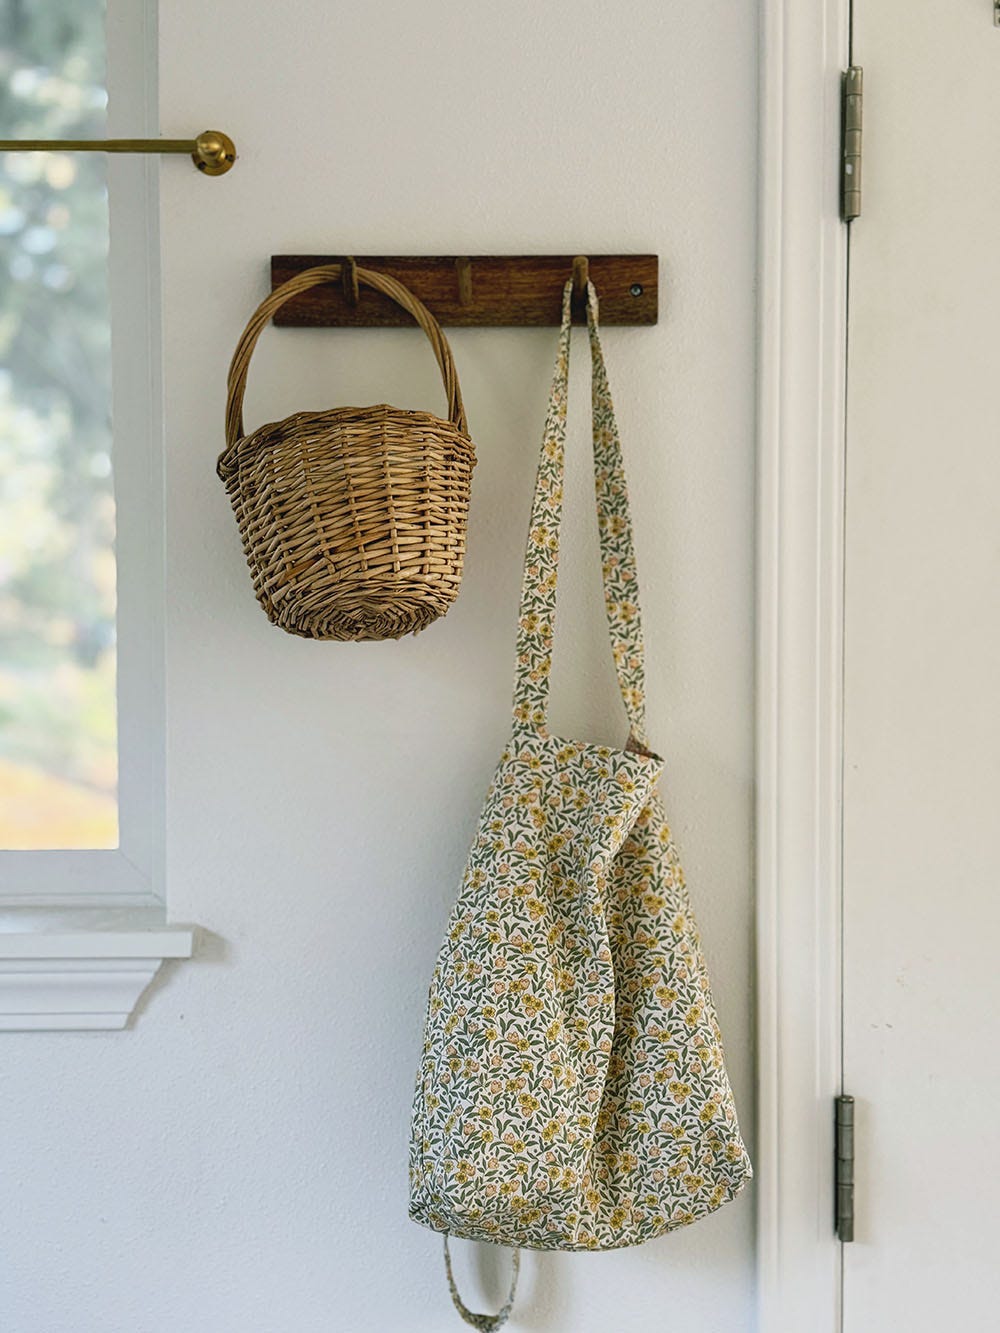
On the walls, I installed a few peg rails here and there. I have baskets and totes hanging where I can keep small tools and projects that are in progress. It’s been helpful to make use of vertical space like this, especially for hiding away half-finished work. I also use the tote bags to cart stuff back and forth to the house.
Mirror and Storage
Finally, in the remaining corner, I have a large mirror which is useful for trying sewing projects on halfway through. It’s not full length, but it’s large enough that I can see what I need to see.
I also took Haley’s advice and got a big industrial rolling laundry basket to keep large video and lighting equipment tucked away. I’m really glad I did this because this stuff took up a whole lot of space in my office previously and it’s very ugly. I’d still like to make a small quilt to throw over the top of it, though.
What’s left
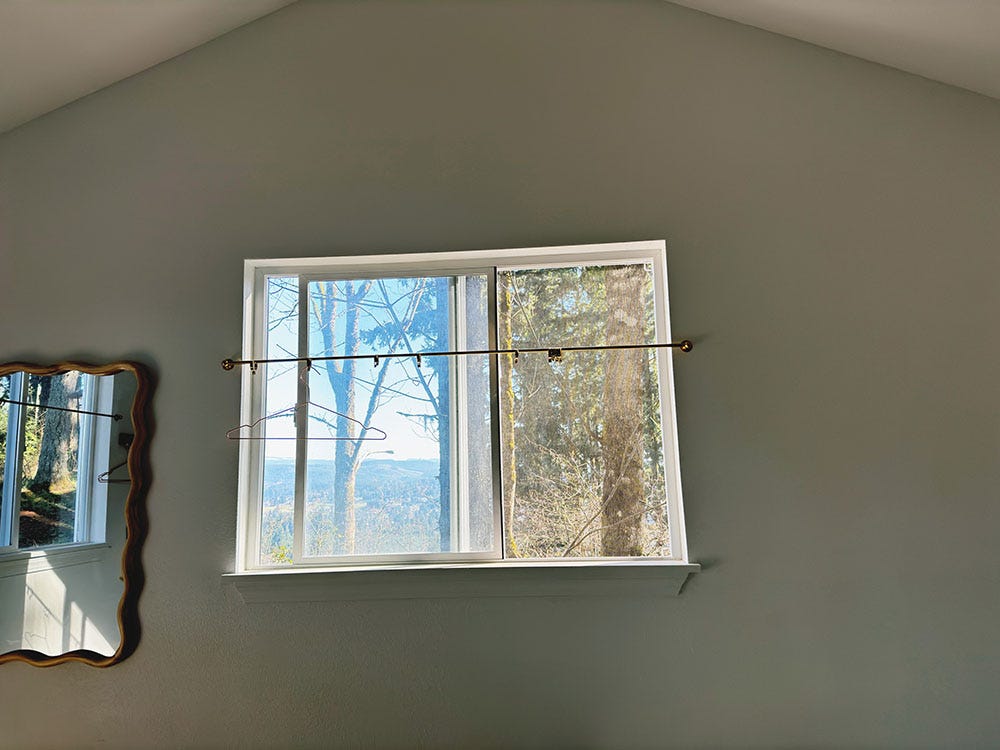
I’ve installed brass cafe rods on the windows and now have some beautiful eyelet fabric that I’ll use to make sheer curtains. The french doors will get plain linen sheer curtains, which I also need to sew. I’ll probably knot them in the middle, or tie them with ribbons or something to let in lots of light.
I’m not sure about the rug I have. I wanted a simple, washable cotton rug but I’m finding that the light color is really not compatible with our muddy winters. I take my shoes off when I enter, but still track in tons of dirt and fir needles. It gets filthy fast.
Apart from that, it’s done! I’ve been sewing here (and podcasting and shooting videos) for a few months and it is absolutely delightful to be able to leave my house, walk through the trees, and enter a little wooded sanctuary that’s just for creating.
And just like with sewing, the act of stepping back and intentionally designing things the way I want has given me more emotional connection to the space. I knew how I wanted to feel when I entered this room, and I’ve managed to achieve that feeling: serene, cheerful, light, and energizing.
Feel free to ask any questions, and remember that part 1 has a lot of the sources linked already if you’re curious!
Thanks for reading Making Time. If you’re new here, you can subscribe for free to receive new posts each week. And don’t forget to join me in The 2024 Slowdown this year.







Beautiful space! Thanks for sharing your source for the cork board tiles. I've been thinking about giving my sewing space a refresh.
What a breezy, inspiring and beautiful space! I feel calm just looking at it. <3